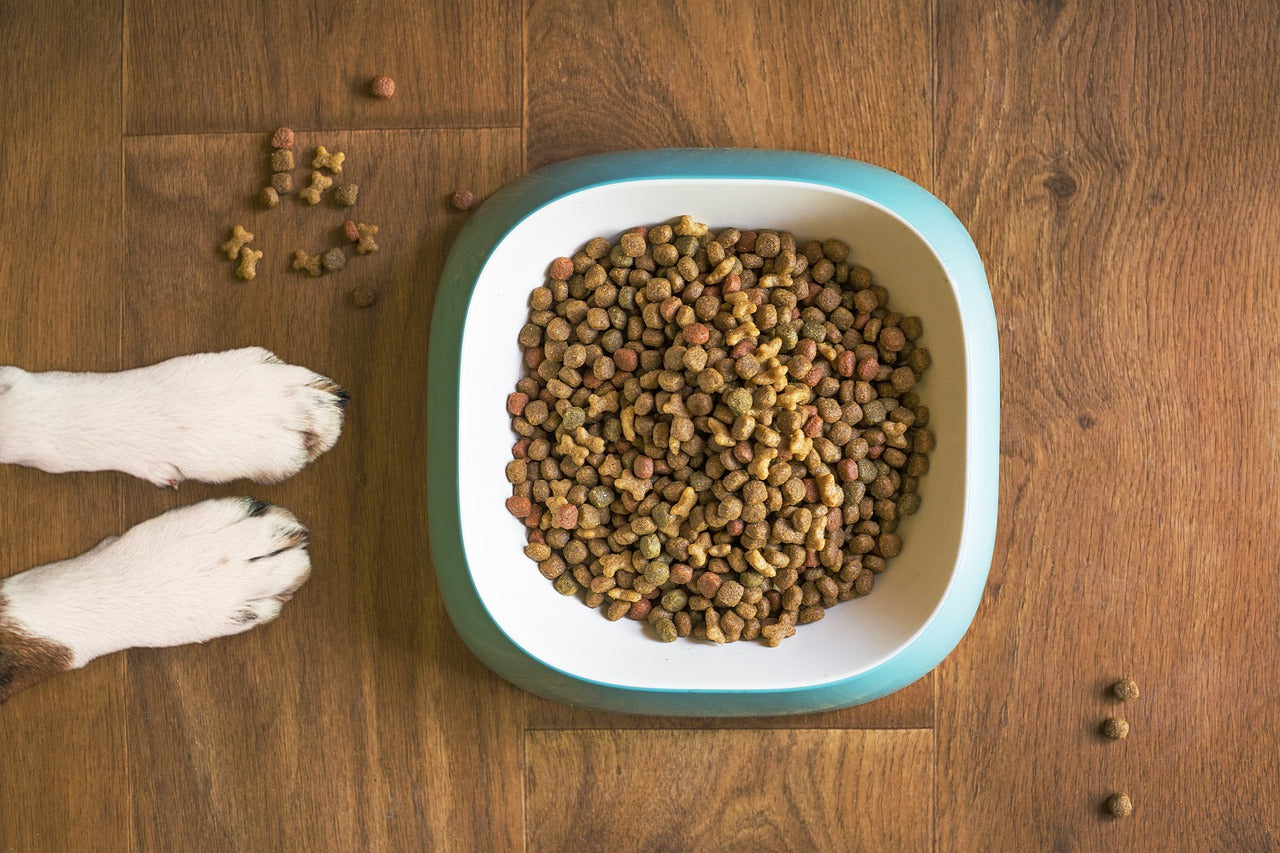
Are you tired of messy dog food bags? If you ever had a moment when you accidentally spilled all the food onto the floor because it tore open in the wrong spot, you are not alone. Does the five-second “food touching the floor” rule apply to dog food?
Sometimes creepy crawlers find their way into a dog food bag and surprise you when you pour it into the bowl. If you ever found spiders, roaches, or ants in your dog’s food bag, you definitely need a new solution! Check out these 5 DIY dog food storage ideas that will keep your dog’s food fresh and make your life easier!
Mason Jars
You might not be the craftiest person around, but this mason jar DIY dog food container will make you feel like Martha Stewart. This genius idea is fun and easy to do. The first step is to purchase large mason jars to store dog food and a smaller jar for the treats. You can buy the jars online or at your local craft store.

The next step is to decide the color you would like to paint the lids and which decoration you prefer to place on top. This is where your creativity can really kick in, and it becomes lots of fun! However, if you struggle with ideas, here are a few fun tips:
- Choose a color that matches your dog’s collar and leash.
- Choose a different color for each jar.
- Choose a color for the food jar and a different color for the treat jar.
- Stick with basic colors white, tan, brown, and black.
- Brighten up the lids with yellow, orange, red, purple, and blue.
- Select small dog figurines to place on top of the lid or figurines of anything that sparks joy for you.
Step 1: Remove the lids from the jars, paint the exterior of each one and allow it to dry.
Step 2: Separately paint the figurines you chose and allow them to dry.
Step 3: Use a glue gun or extra-strength glue to stick the figurine to the top of the lid and allow it to dry.
Step 4: Fill the jars with kibble and treats and screw the top on tightly to keep the food fresh and prevent pests from entering the jar.
These adorable DIY dog food storage containers look great displayed on a shelf or in a cupboard.
Popcorn Tins
Do you have one or more of those delicious popcorn tins that people usually give you during the holidays? This empty tin is most likely taking up space in your garage, attic, closet, or basement. Instead, you can put it to good use by adding some decorations and paint. Create this easy DIY dog food storage container by following the steps below.
Step 1: Clean the dust off the tin by washing it with soap and water. Use a soft cloth to dry the excess water to dry the tin.
Step 2: Choose a paint color for the tin. Remember, you will be looking at this tin at least a couple of times a day, so make sure you choose a color that makes it fun to use. Recommended colors are red, yellow, and white.
Step 3: Choose a paint color for the accents and wording on the exterior of the tin.
Step 4: Choose a decorative ribbon for the side of the lid. A cute pattern or vibrant color that complements the color you chose for the base of the tin will make it look great!
Step 5: Begin your DIY dog food storage project by painting the tin's exterior, including the lid, all the same color.
Step 6: Use a stencil and an accent color to paint “Dog Food” on the can. You can have fun with this by using different fonts from the stencil.
Step 7: Use a hot glue gun to stick the ribbon you chose around the rim of the tin.
Step 8: Allow the tin to fully dry before placing the kibble inside.
Use your creativity when choosing colors and the fabric used for the trim. For example, if you prefer a festive vibe, you can paint the tin two-toned or use multiple colors.
Glass Containers

Glass containers are slightly different from mason jars because they usually have a larger storage bin and a lid that rests on top of the container instead of screw on to the top. So here is a fun way to spice up a plain glass container dedicated to keeping dog food safe.
Step 1: Find a glass container. A great tip is to purchase a plain glass cookie jar in the size that is suitable to hold an entire bag of dog food.
Step 2: Select alphabet and dog-related stickers from your local craft store or online. Stickers are available with a smooth or textured surface. For this project, using textured or raised letters and stickers is a great choice.
Step 3: Wash and dry the jar entirely before you begin to decorate.
Step 4: Choose the words you would like to put on the jar. Excellent choices include dog food, woof, the name of your pet, or a combination such as “Princesses Food.”
Step 5: Carefully place the stickers in a decorative sequence on the exterior of the glass container.
It’s as simple as those quick and easy steps! Remember, the dry kibble and the glass container weight will be heavy once the project is complete. Make sure you place the glass container on an easy-to-reach shelf or tabletop to prevent lifting it a few times per day.
Plastic Storage Drawers
Plastic storage drawers can be found almost everywhere, including your local neighborhood retail store, online, and at home décor stores. Chances are you already use a few of these storage drawers in your house. You can choose to purchase new ones for this project or use existing storage drawers you already have in your home. Check out this quick and easy DIY dog food storage container project that is a great option for pet parents who have more than one dog.
Step 1: Clean the entire container, including the drawers, with soap and water, rinse thoroughly, and dry with a towel.
Step 2: Purchase a stencil that has the letters of the alphabet. You can choose the font from a variety of options. Stencils are available to purchase at your local crafts store and online.
Step 3: Purchase paint in a color you prefer or use color markers to fill in the stencil as you spell the words of your choice. Popular word options are dog food, your dog’s name, or different flavored kibble. If you have more than one dog, you can choose to put their name on each drawer to keep track of their eating habits or keep flavors separate.
Once you finish the project, allow the paint to dry completely and place the kibble in each drawer. Finally, place the storage container in a convenient place that is easy to get to in your kitchen for quick and easy use.
Trash Bin Storage
This DIY dog food storage option is quick, easy, and great for pet parents who store large amounts of dog food at one time!

Step 1: Choose a trash can that is designed for indoors or outdoors. The size is determined by the amount of food you plan to store and the space available in your home where you can place the bin.
Step 2: You can use the trash bin exactly how it is designed initially or add some spark to it with paint and stickers. Keep in mind to only decorate the exterior of the bin.
Step 3: Decorating tips include spelling the words “dog food” on the bin and painting paw prints, as well as using a variety of strategically placed stickers is a fun way to make the bin stand out from your actual kitchen trash can.
Trash storage bins can look sleek and modern, have a country vibe or a cute princess look. But, of course, the décor all depends on the style of the bin and the decorations you choose. An excellent trash bin choice is a stainless steel kitchen style that features a pedal to open and close the lid.
Once you have your DIY dog food storage container finished, it’s time to place it in a convenient, easy to reach spot in your home. Making this area enjoyable to look at and visit at least twice a day is important.
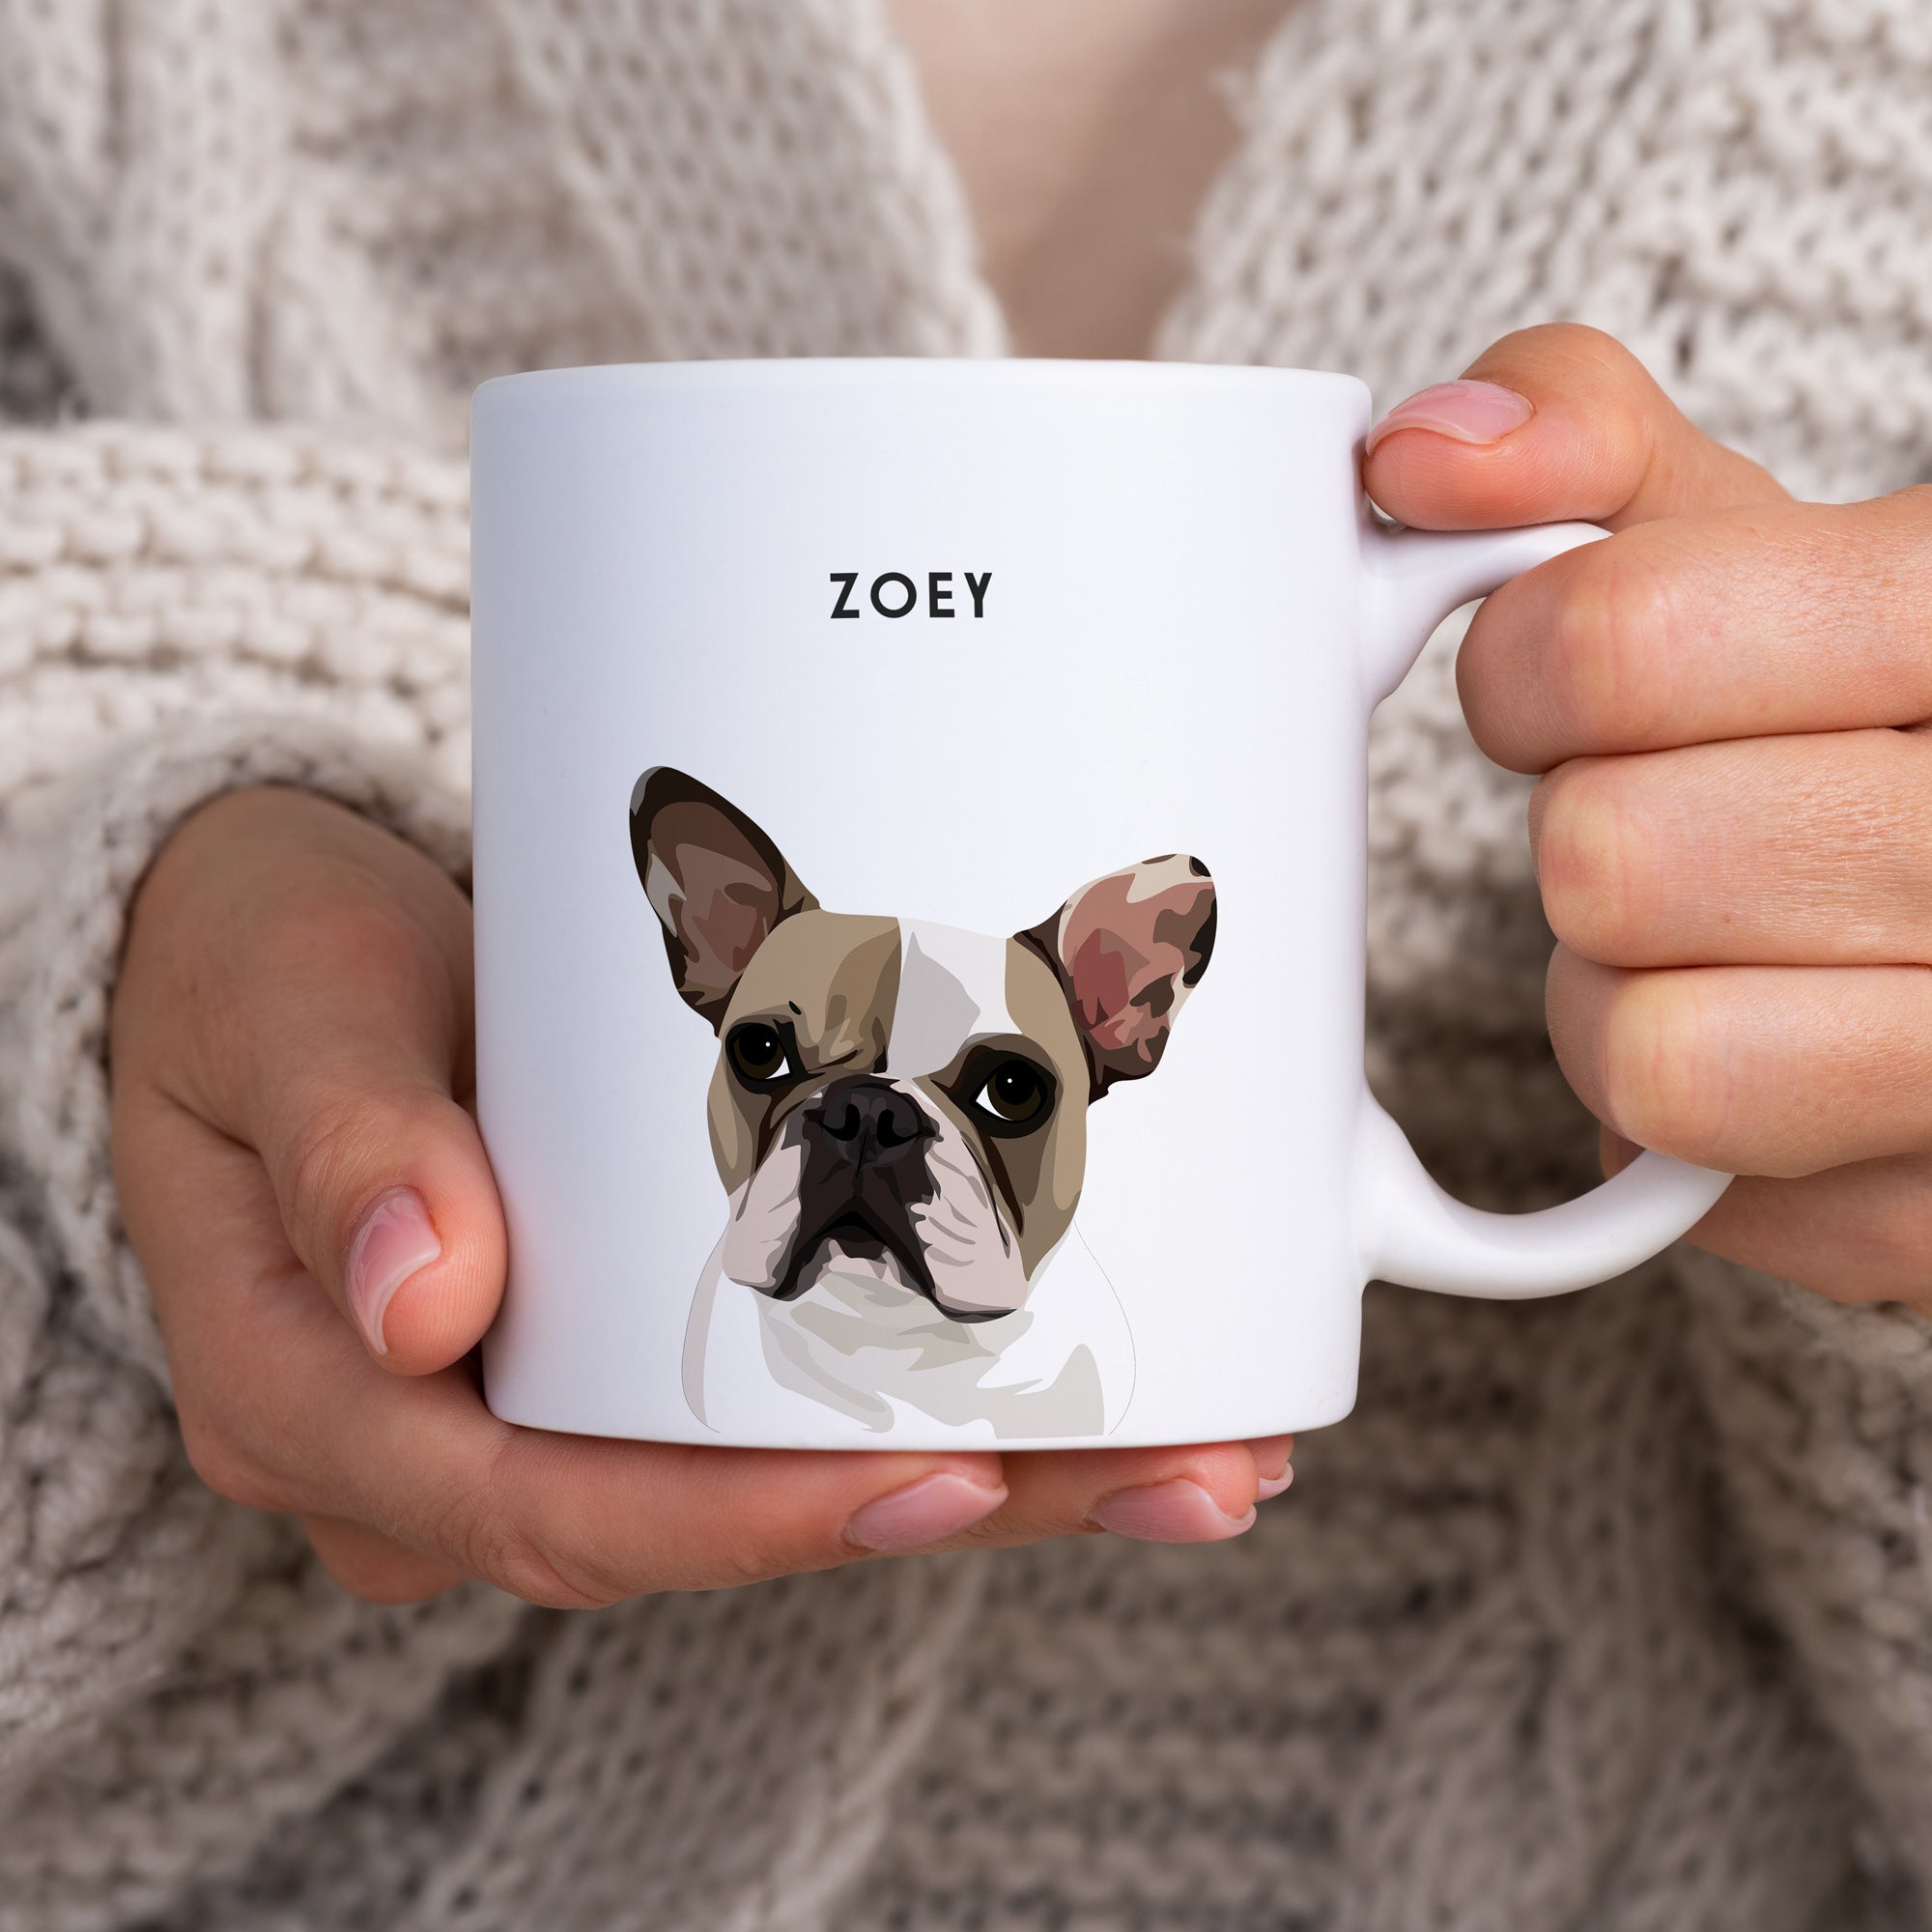
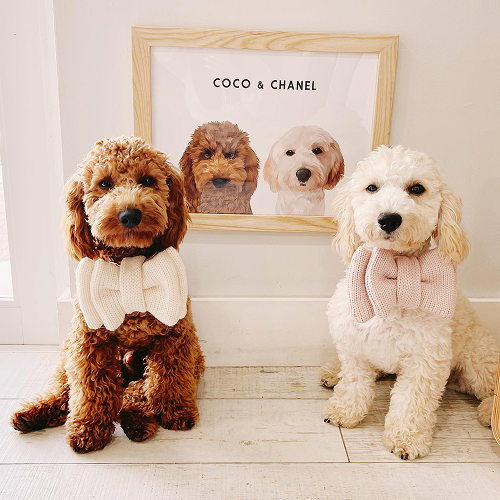
You can set the mason jars, glass container, and popcorn tins on a countertop in the corner of your kitchen or a designated table or surface. A super sweet décor idea is to hang a portrait of your adorable dog in the area near the food bins. A custom portrait that features one, two, or three pets and is the perfect final touch for this DIY project!


